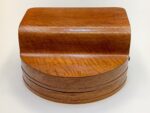
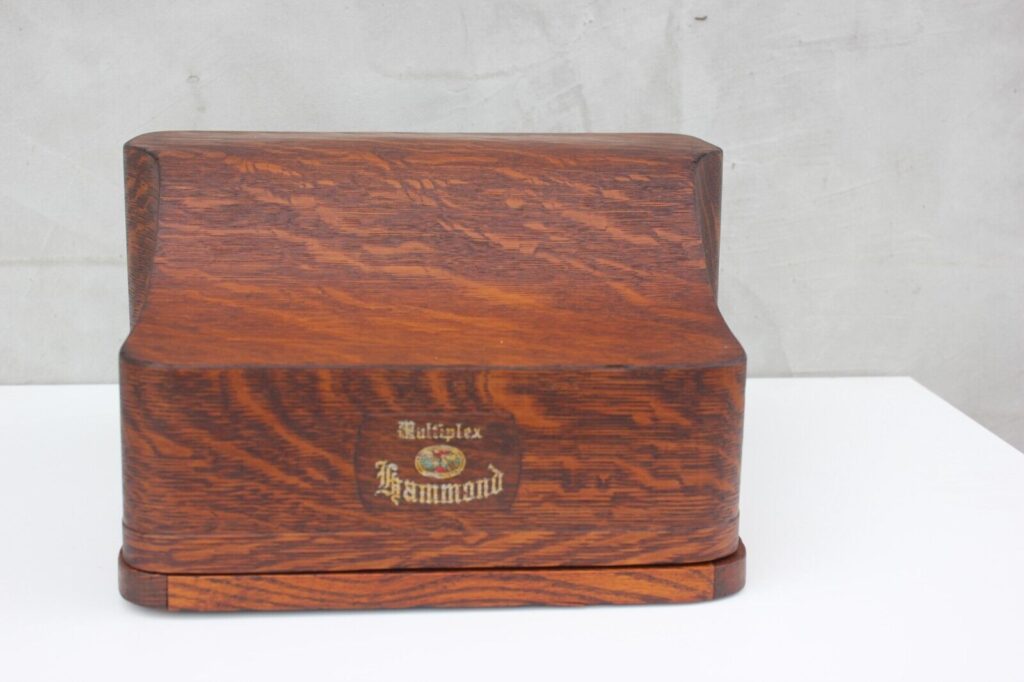
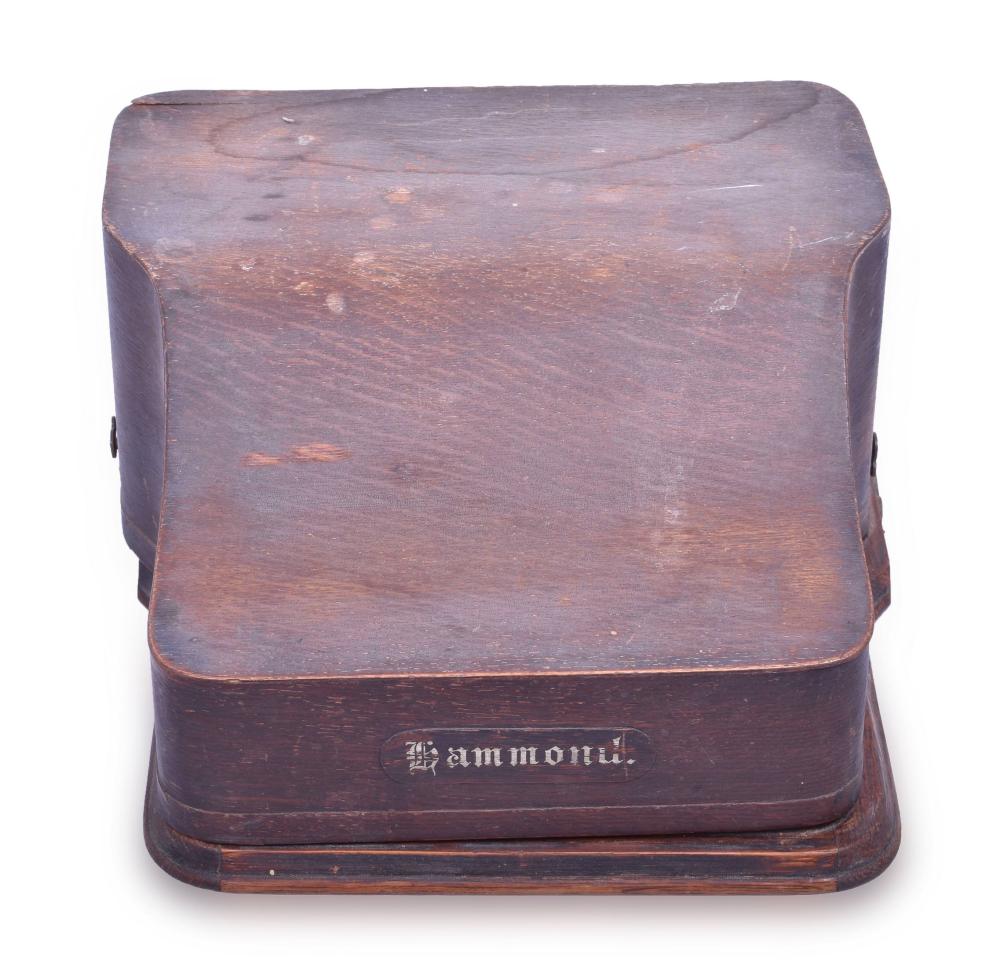
For about thirty years the Hammond company used wooden cabinets, boards, and veneers to support their machines. Sadly we don’t know who built these but it was likely another company.
The early No. 1’s had a mahogany, walnut, or oak.
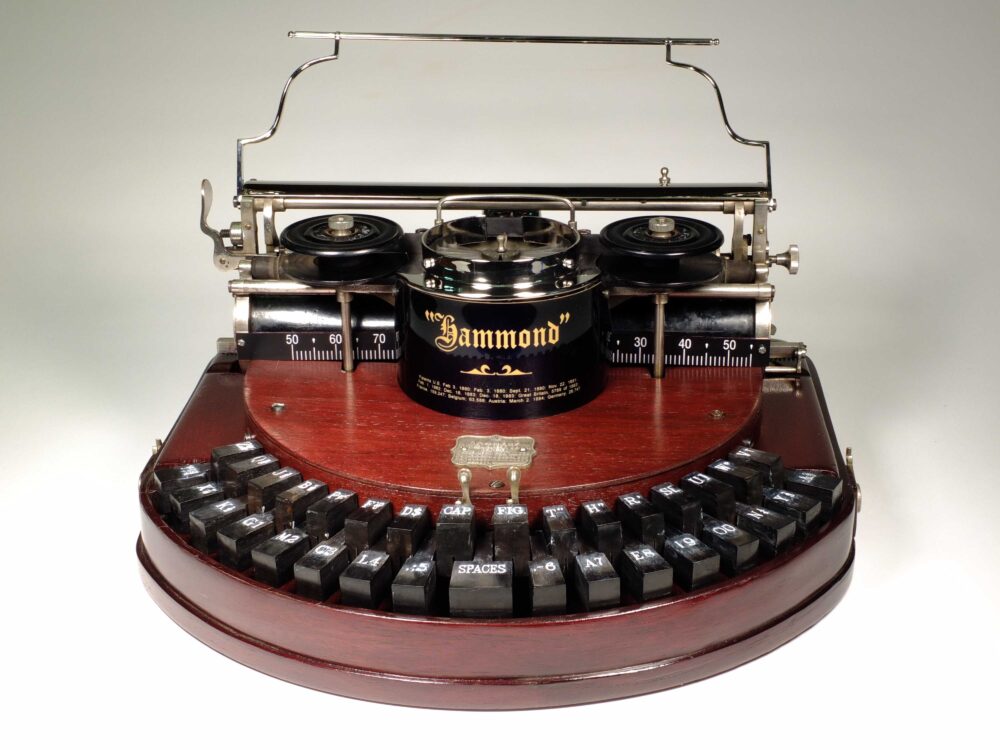
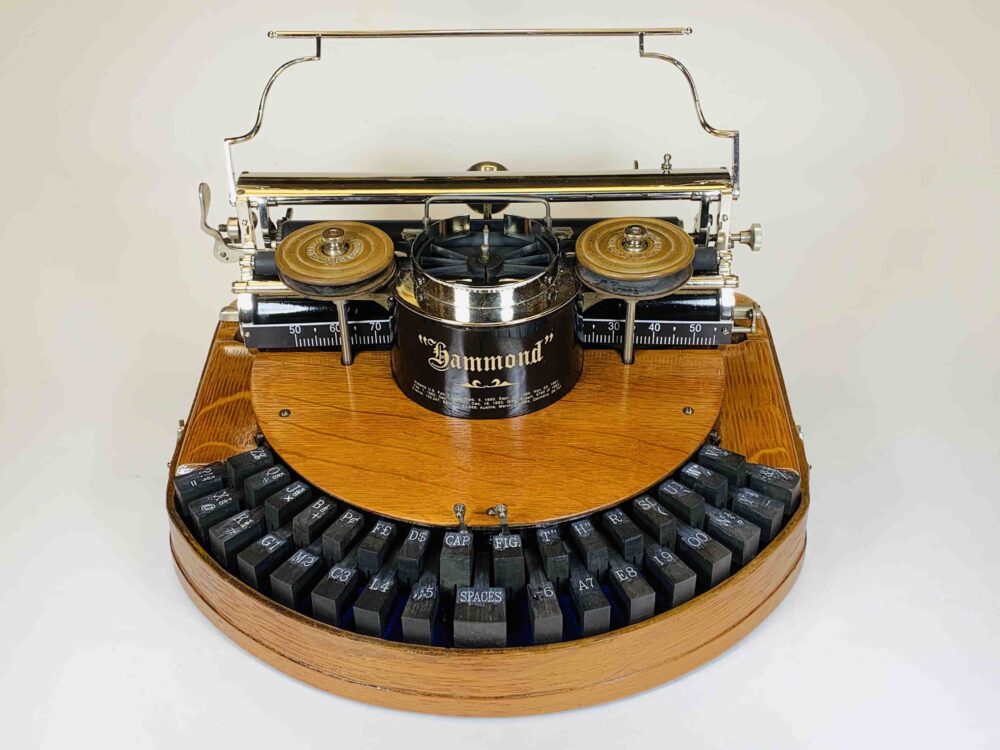
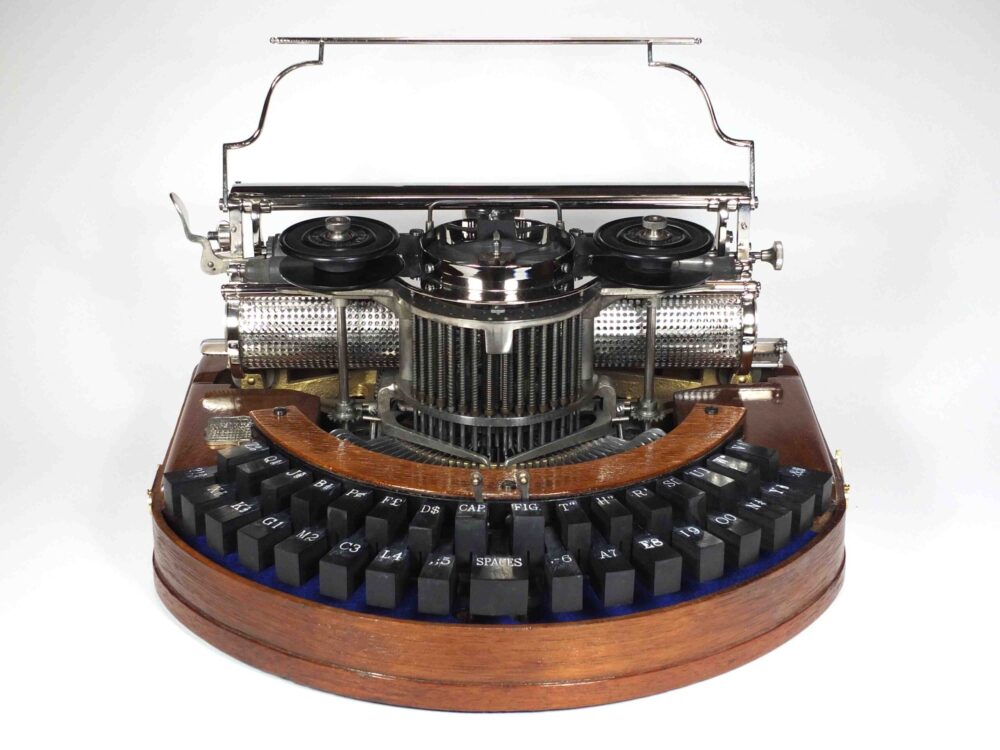
From left to right: Mahogany, Oak, and Walnut. (Courtesy of Dr. Hammond)
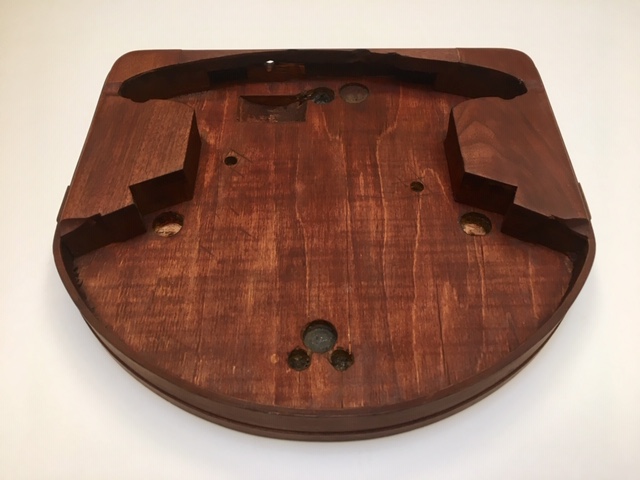
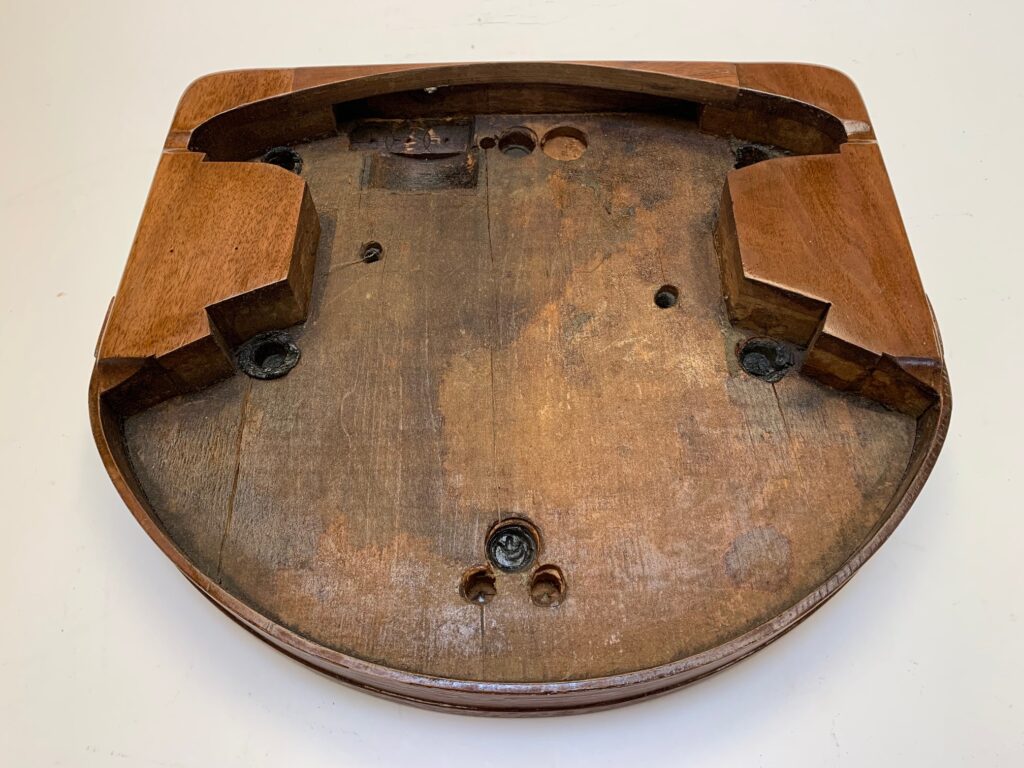
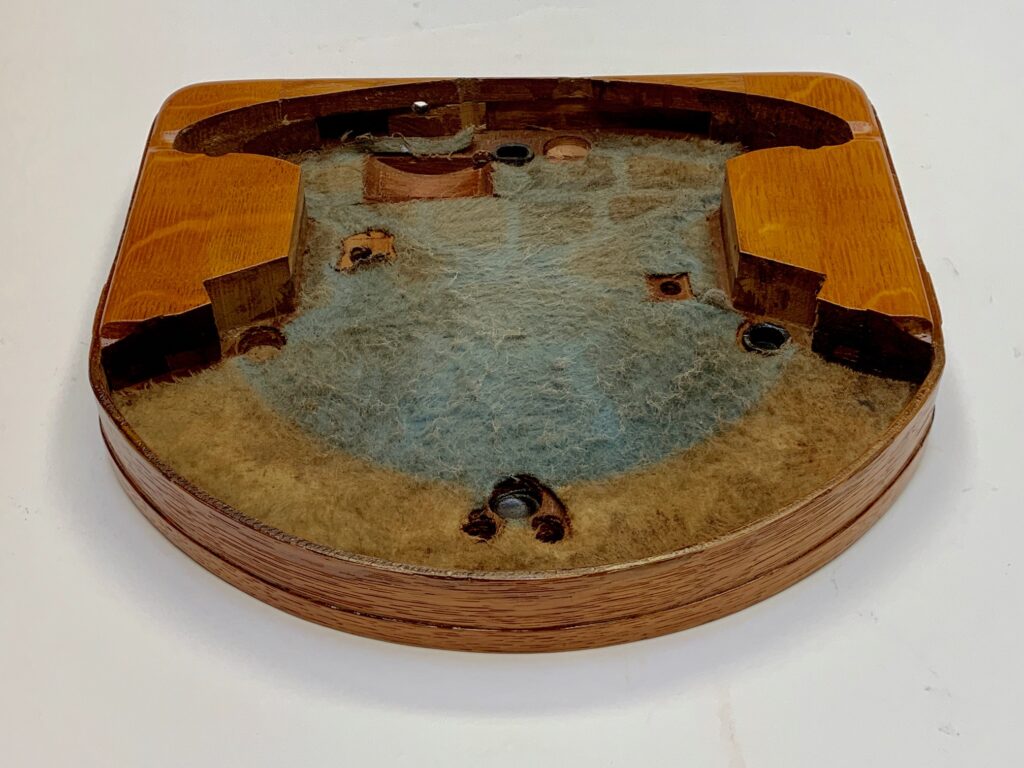
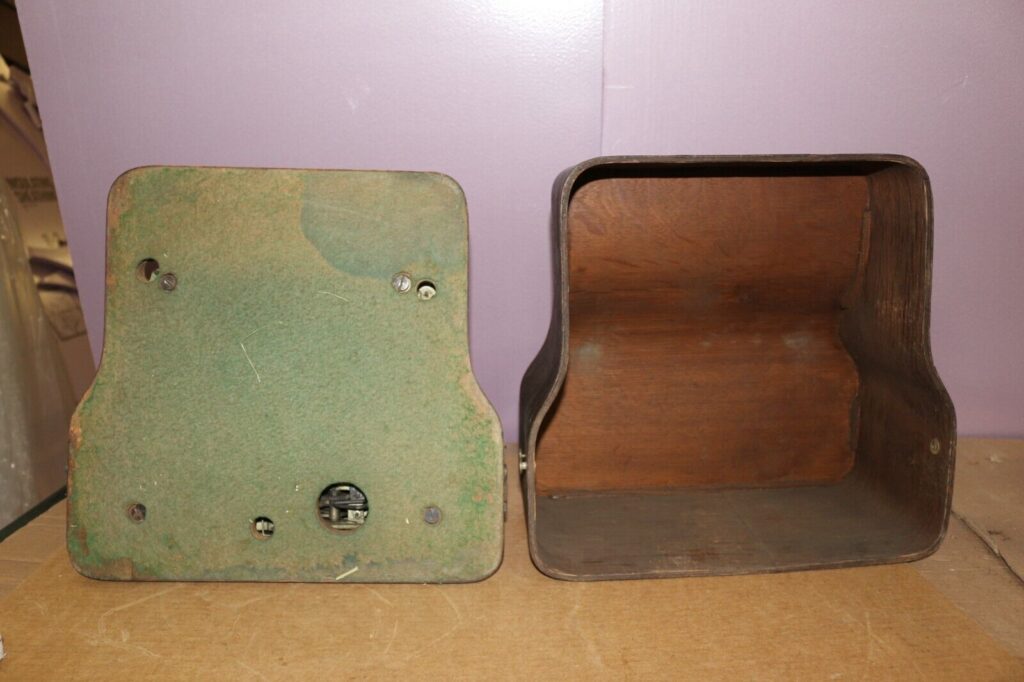
Mahogany, Oak and Walnut cabinets empty (Courtesy of Dr. Hammond)
The No. 1 cabinet was built from several smaller blocks of wood, glued and affixed to a thick base. It was then layered with matching veneer. Often a matching cover would be placed over the machine itself to hide the keybars.
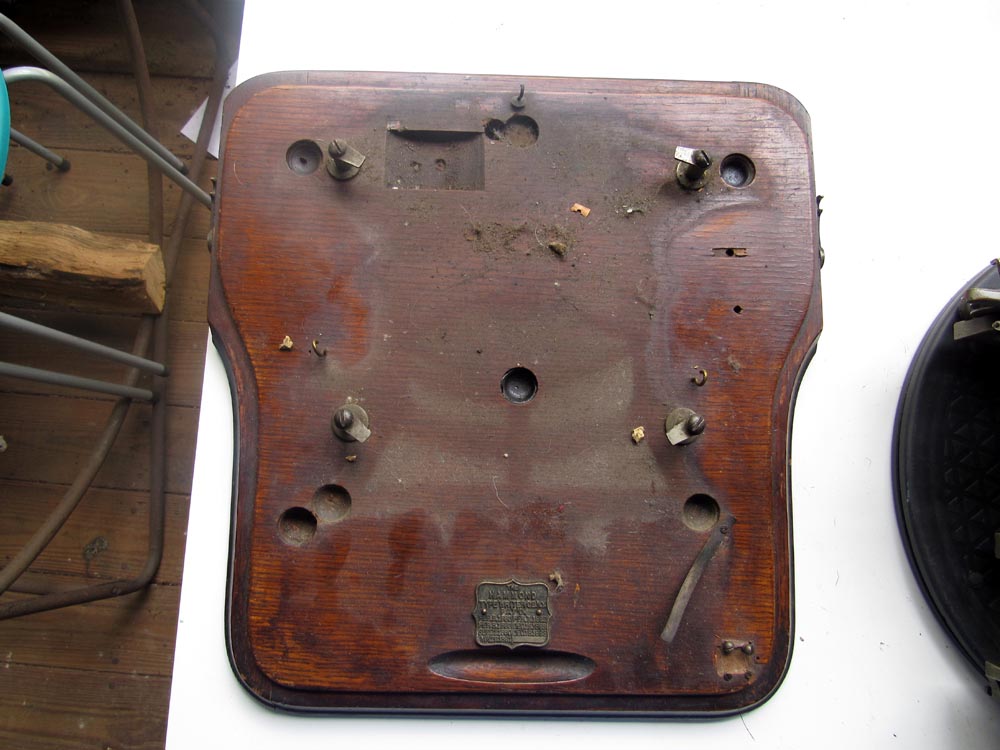
With the Anvil and Shuttle the company got rid of the cabinet altogether. They made a wooden base with up to three or more pieces to form a single board. On top of this was laid a veneer to match.
the lids were made a little different. Rather than using solid pieces, the lid was made using layers of veneer woven and glued together. They made many types of lids, such as: Ideal for the No.1, 2, 12, and Multiplexes, as well as the No. 1 Universal, and a slightly larger version for later No. 1 Universals.
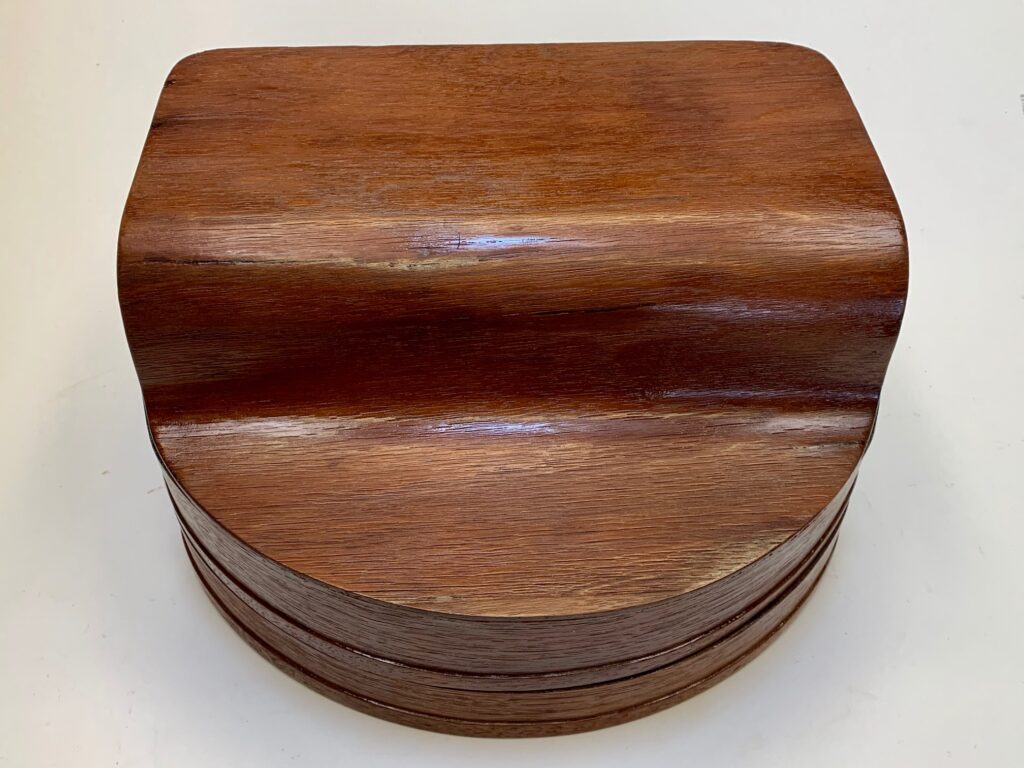
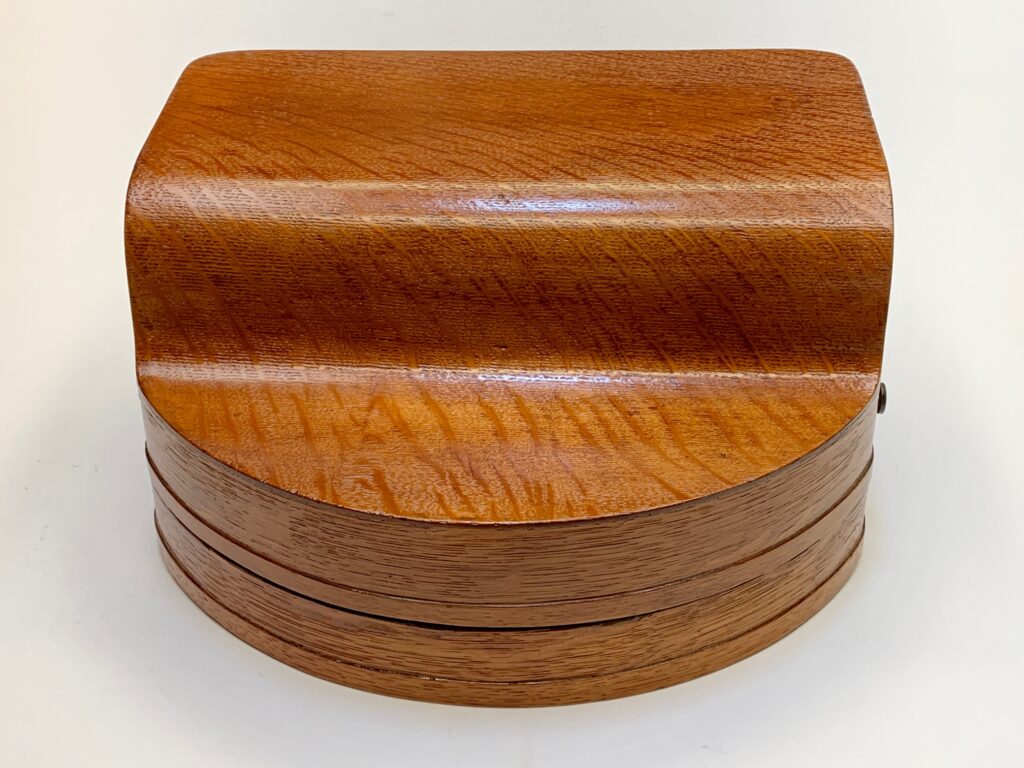
With the later univerals for the 2, 12, and Multiplex a slightly lower version was used for early Anvil and Shuttle models.
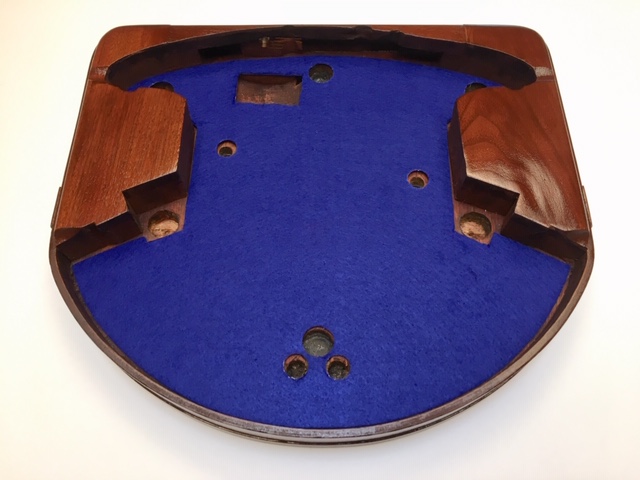
The cabinet’s and board’s of the early Hammond typewriters served some very critical purposes aside from just holding the machine, as noted by the cutouts for each. For example:
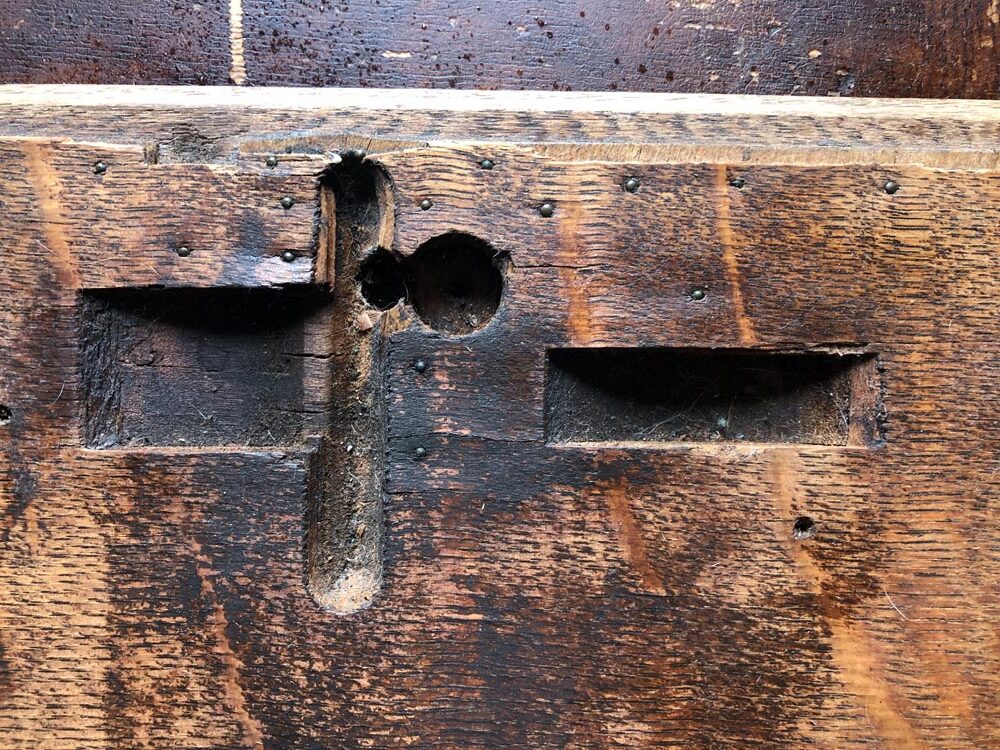
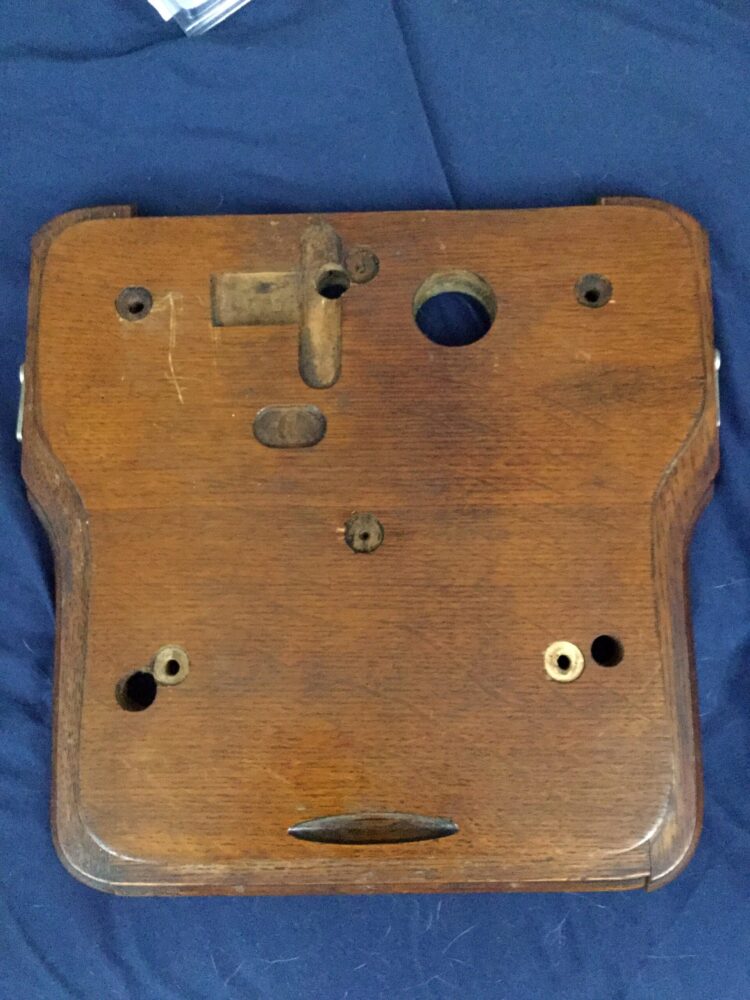
These are the rear cutouts for a Hammond No. 2 model typewriter, made around 1902. You can see where someone repaired the veneer with furniture nails. The deep horizontal cutout on the right is for the sharp-geared escapement so that it would have freedom of movement.
The middle vertical cutout’s usage is unclear. It may have been to give space to an adjustment screw but everything in that area was within the machine. The circular hole at the rear held a foot of the machine, as did the center divot/hole for the center frame post.
The deep horizontal cut on the right was so that the cylinder mainspring would have space as it hung slightly below the machine.
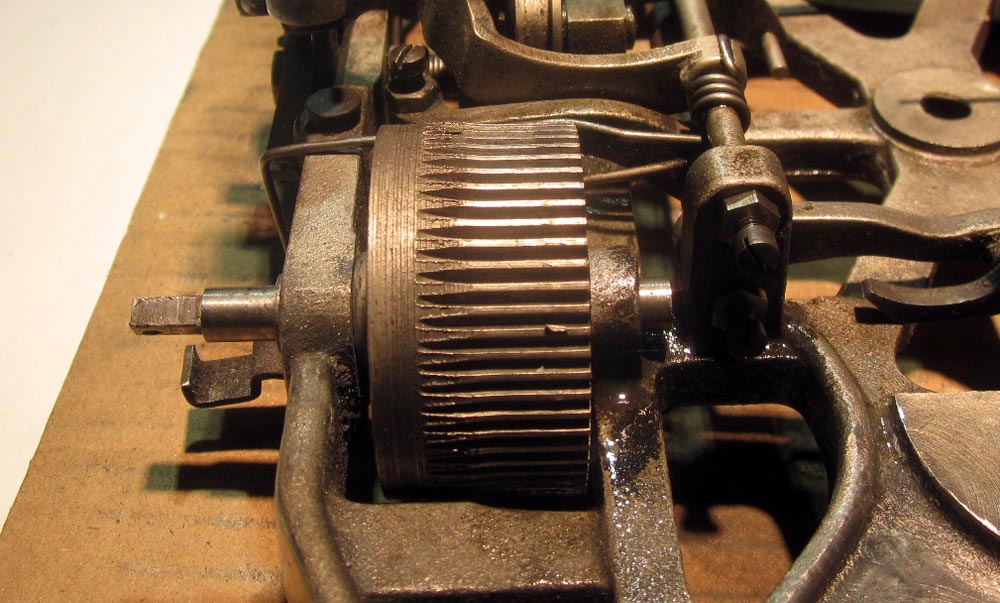
With the introduction of a drawband and mainspring in 1915, this required a deeper, curved cutout.
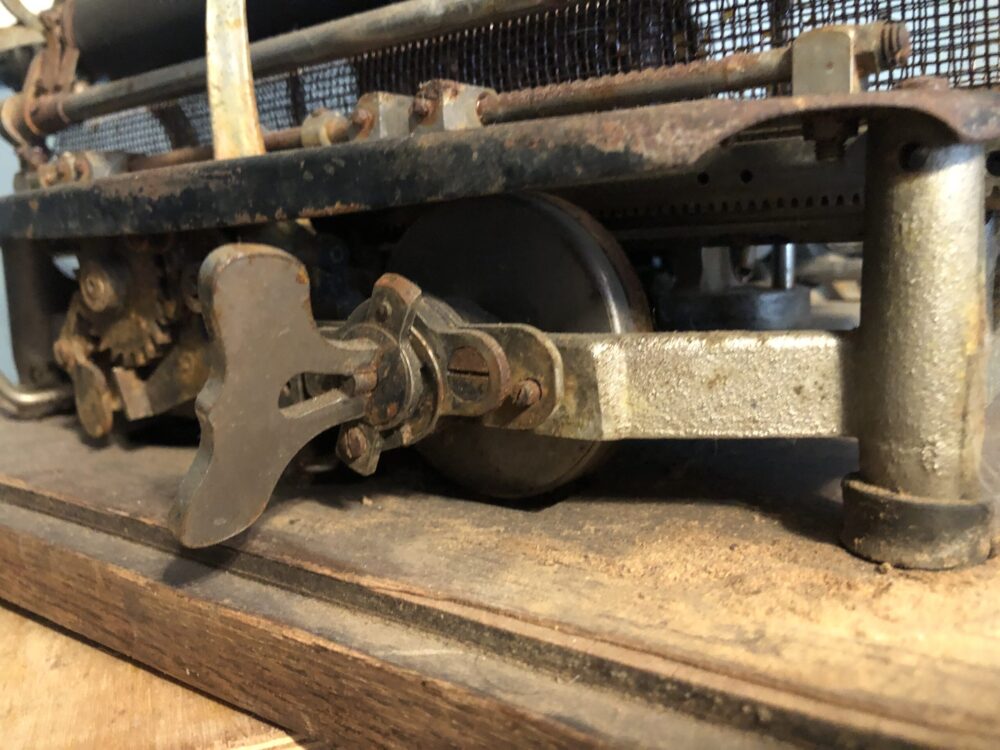
The last general cutout was for the spacebar.
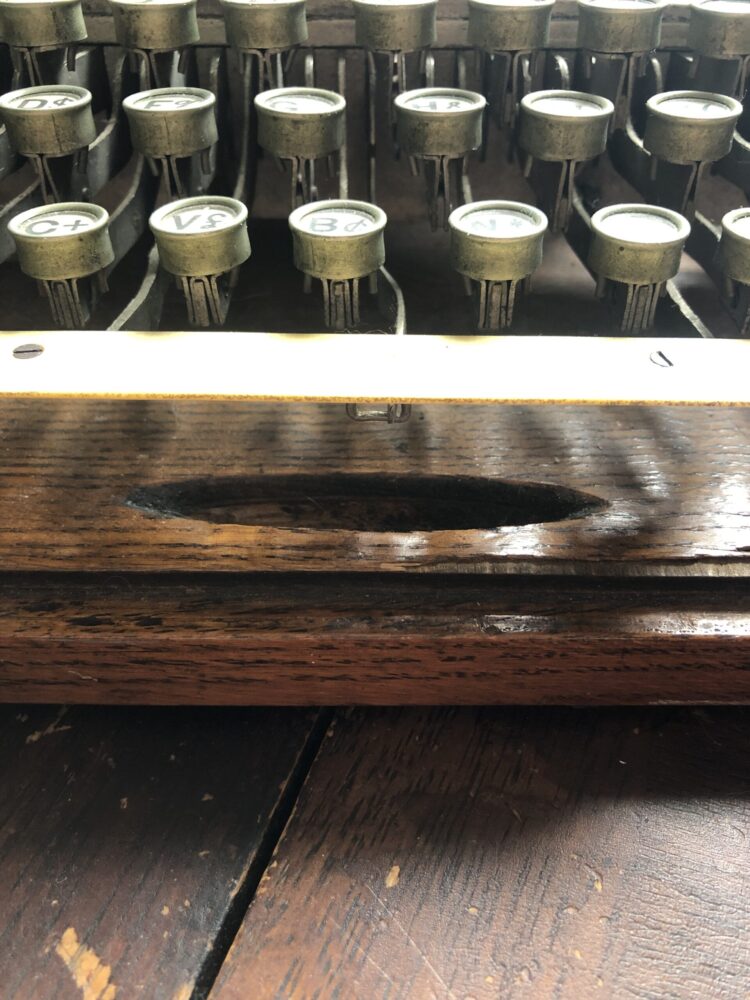
Hammond was famous for introducing new and novelty ideas to the machines as they ran through production, or were brought back for remodeling. This led to many variations in cutouts and holes on the boards, often done by the sales office.
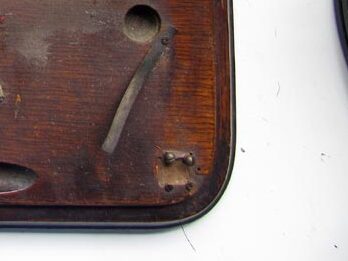
Looking closer at this board for an 1899 Anvil and Shuttle model, we see a cutout on the lower right portion. This was to add a word counter, which connected to the spacebar.
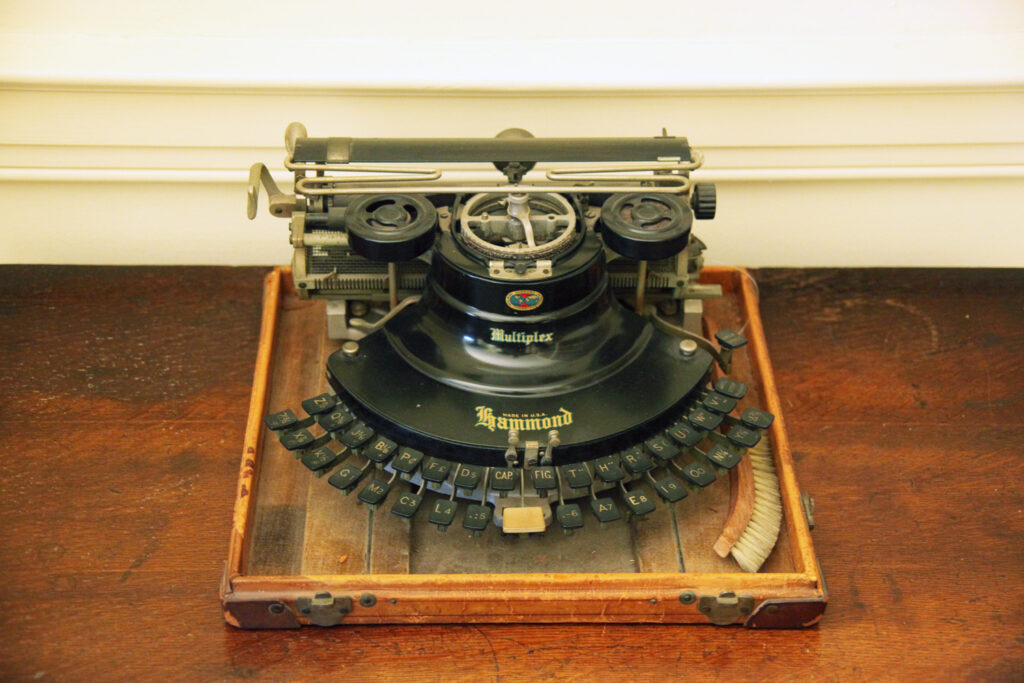
The board also became the base for a travel case that would fit over and latch on to the board.
Furniture Fit
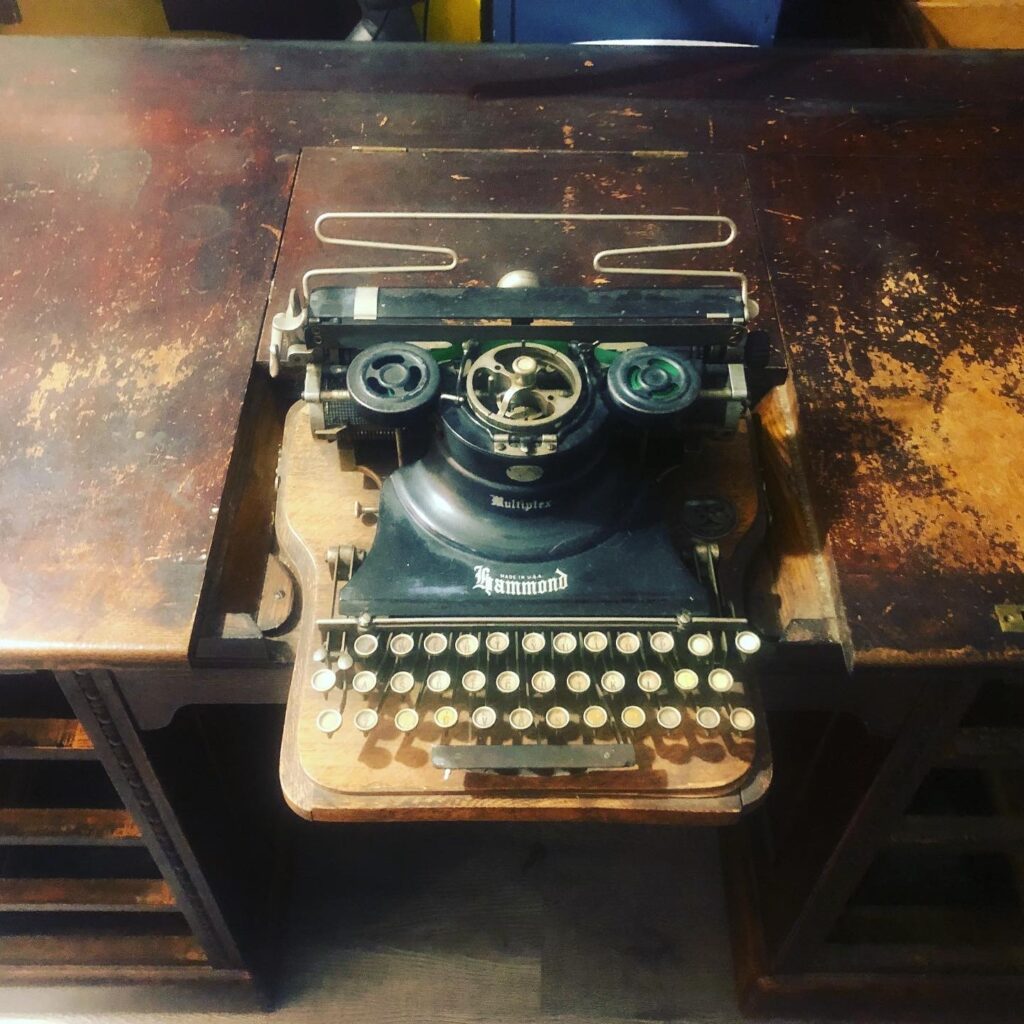
The Hammond company also produced furniture to go along with their machines, and the design of the board had an influence on the design of the furniture. This is is best seen in the Hammond Typewriter desk.

When the center cover is lifted and folded back it creates a small space to put the typewriter. On either side are spacers, each held down by a screw, which fill the gap around the Hammond typewriter’s wooden board.
Care and Cleaning
Early Hammond boards were pieced together and then layered with a wood veneer. Sometimes this veneer separates. You may try to glue it down using wood clue and clamps, but it might fracture the veneer.
If you wish to clean the board, first remove the machine if you can. Otherwise start with a damp sponge to wipe away any dust and dirt. Then use a gentle cleaner like Murphy’s Oil Soap to wipe it down. Aside from occasional dusting this is all you will need to do to keep the boards clean.
